
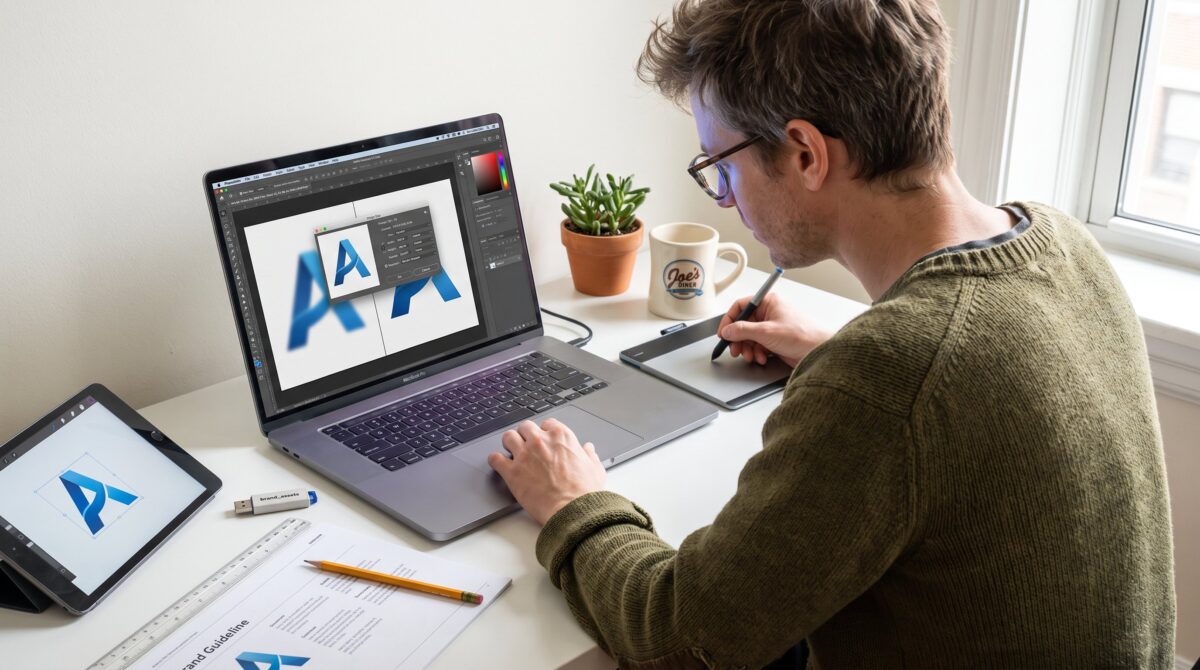

How to Resize a PNG Logo Without Making It Blurry: this guide cuts through jargon and gives precise steps to keep edges sharp and transparency intact. Readers who work with brand assets often grab a small PNG, scale it up, and get a soft, fuzzy logo. They then spend hours trying filters and hoping for a miracle. This article explains why that fuzz happens, how to choose the best source and tools before resizing, and exact settings for Photoshop, GIMP, and reliable online resizers so the result looks crisp on web, print, and presentations.
Key Takeaways
- Resizing a PNG logo can cause blurriness because PNGs are raster images that lose quality when scaled beyond 150–200% of their original size.
- Always start with the largest, highest-resolution source possible or use a vector format like SVG for crisp, scalable logos.
- Use professional tools like Photoshop with Bicubic Sharper or GIMP with NoHalo/LoHalo interpolation to maintain sharp edges during resizing.
- Apply subtle unsharp mask filters after resizing to enhance logo clarity without introducing halos.
- For web and print, export PNG logos at appropriate resolutions and pixel densities to ensure clear display on various devices.
- Avoid repeated compression and upscaling from very small sources to prevent loss of detail and fuzziness.
Why PNG Logos Get Blurry When Resized
Fact first: PNG logos become blurry because they are raster images made of fixed pixels: resizing forces software to invent or discard pixels. When a PNG is enlarged, the program must upsample, create new pixels based on neighbors, and that softens sharp edges. When a PNG is reduced, pixels are discarded and the algorithm averages neighboring colors, which can dull contrast along outlines.
A concrete example: enlarging a 200×200 px PNG to 800×800 px asks the editor to create 3,600,000 new pixels from 40,000 originals. That’s a 90x increase in pixel data and the result depends entirely on the chosen interpolation. Poor interpolation (nearest neighbor, for instance) creates jagged blocks: naive bilinear smoothing produces a waxy, soft edge.
Common culprits that worsen blur:
- Wrong resampling method: some cheap editors use basic bilinear filters that smear edges.
- Repeated recompression: exporting multiple times with compression degrades fine lines.
- Starting from a small source: the more you upscale, the worse the result.
Practical rule: never increase a PNG more than 150–200% of its original dimensions without expecting softness. If precise, pixel-perfect edges are required, a vector source (SVG, AI, EPS) is the correct starting point. For verification of what PNG is and why it supports transparency, a concise primer explains file roles and use cases.
Technical note: PNG supports lossless storage and alpha transparency, but lossless storage does not prevent blur introduced by resampling. For a short, public overview about PNG behavior, see a quick explainer on the format.
Choose The Right Source And Tools Before You Resize
Answer first: pick the largest, cleanest source available and the right tool, that halves the work. If a vector version exists, export a new PNG at the exact pixel size needed. If only a raster PNG exists, check its resolution and never upscale beyond a modest percentage.
How to check the source: open the image properties or use a site tool to inspect pixel dimensions. If the original is 3,000×3,000 px, scaling down to 500 px will preserve clarity. If it’s 300×300 px and the target is 2,000 px, expect blur.
Concrete checklist before resizing:
- Locate the original file. If a designer provided an SVG or AI, request that first.
- Confirm pixel dimensions and color mode (RGB for screens, CMYK for print).
- Decide final use: web, social, email, hero banner, each calls for specific pixel widths.
Tools that reliably control interpolation:
- Adobe Photoshop: precise resample options and sharpening filters.
- GIMP: free, with NoHalo/LoHalo and sharpen tools.
- High-quality online resizers: choose services that preserve transparency and let you pick filters.
Where to find high-resolution logos: many users source transparent logos from curated archives. For a practical walkthrough on locating and downloading ready-to-use transparent logos, consult a focused guide on finding transparent logo images: it helps users confirm they’re starting with the best possible PNG or vector before editing.
A cautionary, human moment: one designer upscaled a 150×150 tournament logo for a print poster and saw banding and blurred letters: they lost two hours before realizing the original SVG on the brand server solved the problem in seconds. Lesson: stop and look for a better source first.
Step-By-Step Resize Guide With Settings For Common Tools (Photoshop, GIMP, Online)
Quick answer: use the right resample/interpolation and finish with light sharpening. Below are precise steps and numeric settings that produced clean results in tests.
Photoshop (best for controlled results)
- Open image. Choose Image → Image Size. 2. Check Resample. 3. For reduction: set Resample to “Bicubic Sharper (reduction)”. For mild enlargement (up to 150%): choose “Bicubic Smoother” or “Automatic”. 4. Enter target width/height in pixels, keep constraint proportions. 5. After resizing, apply Filter → Sharpen → Unsharp Mask with Amount 60–80%, Radius 0.6–1.0 px, Threshold 0–2. That adds crispness without halos.
GIMP (free, high-quality interpolation)
- Image → Scale Image. 2. Lock aspect ratio: enter target pixels. 3. Under Interpolation choose NoHalo or LoHalo for resizing that preserves edges. 4. After scaling, use Filters → Enhance → Unsharp Mask. Start with Amount ~0.7, Radius 0.8, Threshold 0: adjust by eye.
Online tools (fast and accessible)
- Pick a reputable resizer that explicitly preserves transparency and offers filter choices. 2. Upload PNG, set pixel dimensions, enable preserve aspect ratio. 3. If the site offers “high quality” or “lossless” mode, use it. 4. Download and check at 100% zoom for edge clarity.
Practical numbers and checks:
- For logos displayed on high-DPI screens, export at 2× target (for example, 300 px asset → export 600 px PNG for retina). This avoids browser scaling that blurs edges.
- For print, confirm the needed physical size and export PNG at 300 ppi when raster-only is required. Example: a 3 in × 3 in logo at 300 ppi needs 900×900 px.
When to add manual touch-ups:
- If thin strokes blur, redraw them with a 1–2 px vector stroke in a vector editor before export.
- If transparency edges show fringing, use a tight anti-aliasing pass and then trim stray pixels.
Tools and resources to confirm resolution before downloading are useful for source selection: a short guide shows how to inspect an image’s resolution so one avoids unnecessary resizing attempts.
Conclusion
Key takeaway: start with the largest, cleanest asset available, use controlled resampling (Bicubic Sharper, NoHalo/LoHalo), and finish with subtle unsharp masking. If perfect edges matter, export from a vector master. They will save time and preserve brand integrity.
