Custom scarves featuring your logo can be powerful branding tools, memorable gifts, or unique products for your business. Whether you’re creating promotional merchandise, corporate gifts, or retail items, transforming your logo into a wearable accessory requires thoughtful planning and execution. Here’s how to do it right.
Step 1: Evaluate Your Logo’s Design
Before you begin, assess whether your logo will translate well to fabric. Scarves offer a large canvas, but certain design elements work better than others. Logos with clean lines, distinct shapes, and good contrast typically perform best. If your logo is intricate or contains fine text, consider how it will appear when scaled up or repeated across fabric.
Ask yourself: Does my logo have enough visual impact to stand alone, or should it be incorporated into a larger pattern? Simple, bold designs often make the strongest statement, while detailed logos might benefit from being part of a complementary design.
Step 2: Choose Your Scarf Type and Fabric
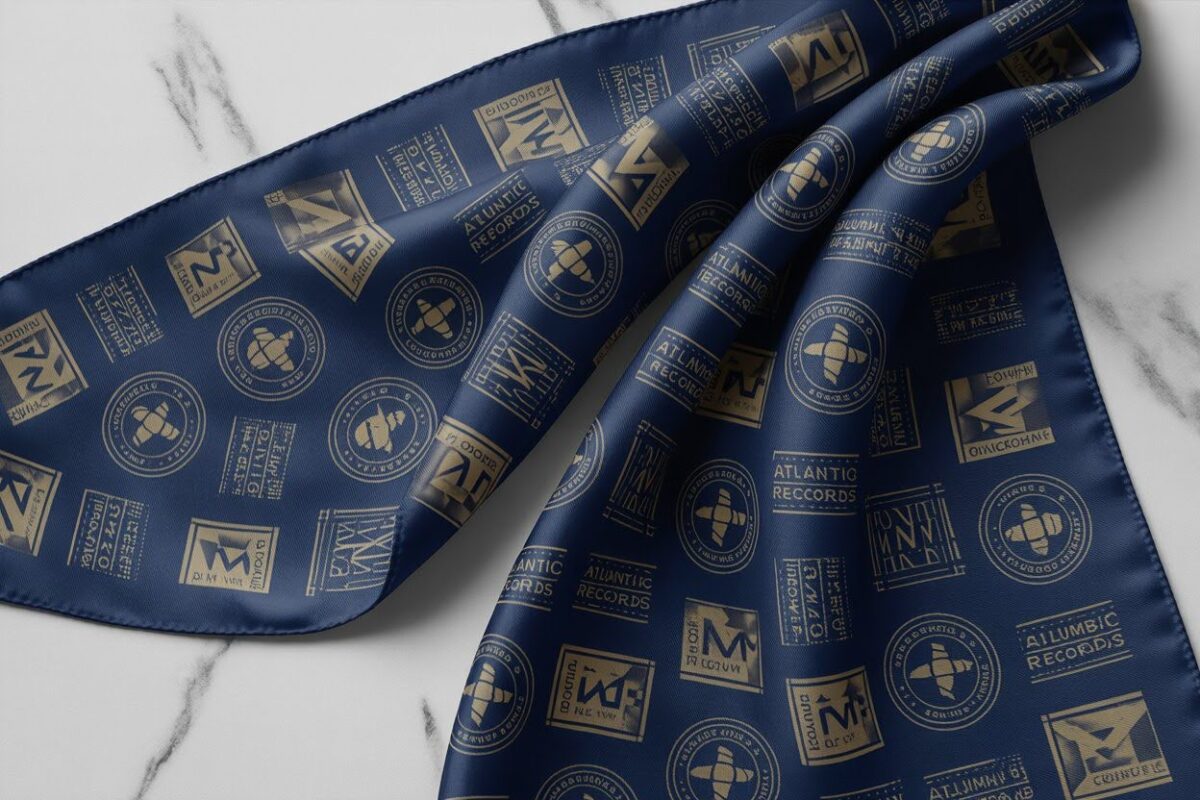
The type of scarf you select will influence both the printing method and final appearance. Square silk scarves offer a luxurious feel and vibrant color reproduction, making them ideal for high-end corporate gifts. Rectangular pashmina or wool scarves provide warmth and comfort for winter promotions. Lightweight polyester scarves are cost-effective for large-scale giveaways.
Consider your audience and purpose. Corporate clients might appreciate silk or cashmere blends, while event attendees might prefer practical cotton or microfiber options. The fabric choice also affects printing techniques—silk accepts dye sublimation beautifully, while cotton works well with screen printing.
Step 3: Prepare Your Logo Files
You’ll need high-resolution vector files of your logo, preferably in formats like AI, EPS, or PDF. Vector files can be scaled to any size without losing quality, which is essential when your logo will appear on a large fabric surface. If you only have raster files (JPEG or PNG), ensure they’re at least 300 DPI at the intended print size.
Work with your designer to create versions optimized for fabric printing. This might mean adjusting colors for the chosen printing method, simplifying certain elements, or creating variations that work at different scales. Remember that fabric has texture and drape, which affects how colors and details appear compared to flat printed materials.
Step 4: Design the Scarf Layout
Now comes the creative part: deciding how to incorporate your logo into the overall scarf design. You have several options. You might place your logo as a central focal point, repeat it in a pattern across the entire scarf, or use it as an accent element within a larger design incorporating your brand colors and complementary graphics.
Consider the scarf’s dimensions and how it will be worn. A square scarf might have your logo prominently displayed in the center with decorative borders, while a long rectangular scarf could feature repeated logos or a single statement placement near the ends. Think about how the design looks both when laid flat and when draped around the neck.
Step 5: Select a Printing Method
Different printing techniques offer varying results in terms of color vibrancy, durability, and cost. Digital printing allows for complex, full-color designs with no minimum order quantities, making it perfect for small batches or testing designs. Screen printing is cost-effective for larger orders with limited colors and produces durable, vibrant results. Dye sublimation creates permanent, vibrant prints on polyester fabrics with excellent detail and color range.
Discuss options with your manufacturer based on your fabric choice, budget, and order quantity. Each method has its strengths, and the right choice depends on your specific needs and the complexity of your design.
Step 6: Create a Color-Matched Sample
Colors can appear different on fabric than on screen or paper. Request a sample or proof before committing to a full production run. This allows you to verify that your brand colors are accurately reproduced and that the overall design meets your expectations.
Pay attention to how the colors interact with the fabric’s texture and sheen. Make any necessary adjustments to ensure consistency with your brand guidelines. This step might add time to your project, but it’s invaluable for avoiding costly mistakes.
Step 7: Place Your Order
Once you’ve approved the sample, it’s time to place your production order. Be clear about quantities, delivery timelines, and any special requirements like individual packaging or gift boxes. Reputable manufacturers will provide a production timeline and keep you updated on progress.
Consider ordering slightly more than you need to account for quality control variations and to have extras on hand for unexpected needs. Custom scarves can have minimum order quantities, so plan accordingly.
Step 8: Quality Check and Distribution
When your scarves arrive, inspect them carefully. Check for color consistency, print quality, and any defects in the fabric or finishing. Reputable suppliers will have quality control measures in place, but it’s wise to verify before distribution.
Plan how you’ll present your custom scarves. Elegant packaging enhances perceived value—consider tissue paper, branded boxes, or decorative ribbons for corporate gifts. For retail products, professional hang tags and clear packaging showcase your scarves effectively.
Final Thoughts
Transforming your logo into custom scarves combines branding with functionality, creating something people will actually use and appreciate. The key to success lies in thoughtful design choices, selecting the right materials and printing methods, and working with experienced manufacturers who understand fabric and textile printing. With careful planning and attention to detail, your logo scarves can become cherished items that extend your brand’s reach in style.