Isometric drawing is a powerful technique used in various fields, from engineering and architecture to industrial design and graphic arts. It allows us to create three-dimensional representations of objects on a two-dimensional surface, providing a realistic and accurate portrayal of their dimensions and proportions. In this section, I’ll explain the fundamentals of isometric drawing and how it can be effectively utilized.
Firstly, let’s delve into the concept of isometric projection. Unlike traditional perspective drawings that depict objects as they appear in reality, isometric drawings present them with equal measurements along each axis. This means that all lines parallel to the x-axis are drawn at 30 degrees, while those parallel to the y-axis are inclined at -30 degrees. The result? A visually appealing representation that eliminates distortion and maintains consistent angles throughout.
One key advantage of isometric drawing lies in its ability to convey depth perception effortlessly. By employing simple techniques such as foreshortening, where distant parts appear smaller than closer ones, we can create an illusion of distance within our drawings. This makes it easier for viewers to comprehend complex structures or assemblies by visualizing how different components relate to one another spatially.
Moreover, mastering the art of isometric drawing opens up avenues for precise measurement and scaling. Since all lines are drawn at fixed angles relative to each other, we can accurately determine lengths, widths, and heights without relying solely on numerical values or additional calculations. This makes isometric drawings invaluable tools for communicating design ideas clearly across teams or clients who may not possess technical expertise.
How to Do Isometric Drawing
Alright, let’s dive right into the step-by-step process of creating isometric drawings. Whether you’re a beginner or looking to sharpen your skills, these guidelines will help you bring your ideas to life in three dimensions. So grab your paper, pencil, and let’s get started!
- Understand the Basics: Before we begin sketching, it’s crucial to grasp the fundamentals of isometric drawing. Isometric projection allows us to represent three-dimensional objects on a two-dimensional surface with equal measurements along each axis.
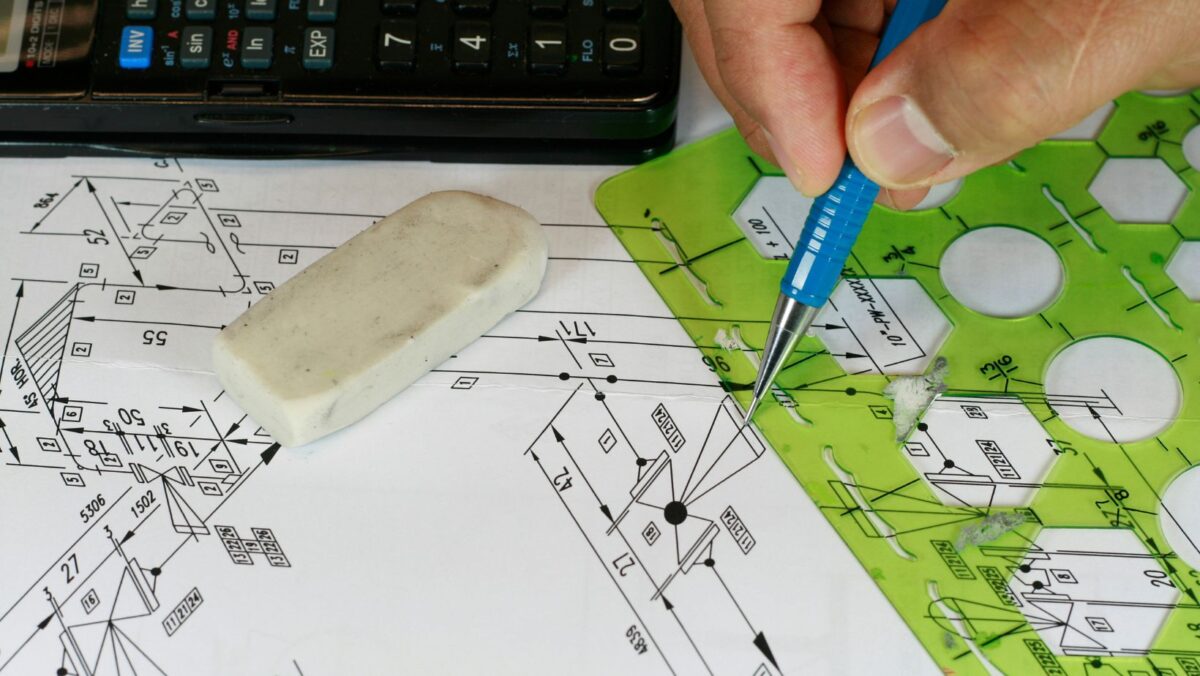
- Set Up Your Grid: To maintain consistency and accuracy throughout your drawing, establish an isometric grid on your paper. Use a ruler to draw parallel lines at 30-degree angles from each other, forming equilateral triangles.
- Start with Simple Shapes: Begin by sketching basic geometric shapes using the grid as a reference point. Rectangles, squares, circles, and triangles are great starting points for building more complex structures later on.
- Construct Your Objects: Once you have mastered simple shapes, it’s time to move on to more intricate objects. Break down complex forms into their constituent parts and plot them onto the grid systematically.
- Add Detail and Depth: Now that you have the foundation laid out, it’s time to add details and create depth in your drawing. Use shading techniques like hatching or cross-hatching to give volume and dimensionality to different surfaces of your objects.

Tips and Techniques for Perfecting Isometric Drawings
When it comes to creating accurate and visually appealing isometric drawings, there are a few key tips and techniques that can help you achieve the desired outcome. Whether you’re new to isometric drawing or looking to refine your skills, these guidelines will surely come in handy. So, let’s dive right into it!
- Start with a Grid: Before you begin your isometric drawing, it’s essential to establish a grid system. This grid will serve as the foundation for maintaining consistent proportions and angles throughout your artwork.
- Master the Basics: Understanding the fundamentals of isometric drawing is crucial for achieving accuracy in your artwork. Take the time to familiarize yourself with concepts such as foreshortening, parallel lines, and orthographic projection.
- Use Construction Lines: To ensure symmetry and proper placement of elements in your drawing, utilize construction lines as guidelines..
- Pay Attention to Proportions: Maintaining correct proportions is key when it comes to achieving realistic-looking isometric drawings.
- Add Depth with Shading: Once you’ve outlined the main shapes in your drawing, consider adding shading techniques to create depth and dimensionality.
- Experiment with Perspectives: While traditional isometric drawings maintain equal dimensions along all three axes (length, width, height), don’t be afraid to play around with perspectives for creative effect!.
Remember, mastering isometric drawing takes practice and patience. Don’t be discouraged if your initial attempts don’t meet your expectations. Keep refining your techniques, studying references, and experimenting with different styles. With dedication and perseverance, you’ll soon be creating stunning isometric drawings that captivate viewers with their precision and artistry.