
In the realm of visual design and marketing, the potency of mockup photos is undeniable. These images serve as portals to the realm of possibilities, offering an immersive and realistic glimpse of what could be. Whether you are a seasoned designer or a newcomer to the world of visual marketing, mastering the art of crafting captivating mockup photos is a valuable skill.
To achieve professional-looking mockup photos that truly stand out, designers often use Genera for mockups, a versatile and user-friendly tool. Let’s embark on a step-by-step journey to create outstanding mockup photos, ensuring a distinct perspective that sets your creations apart.
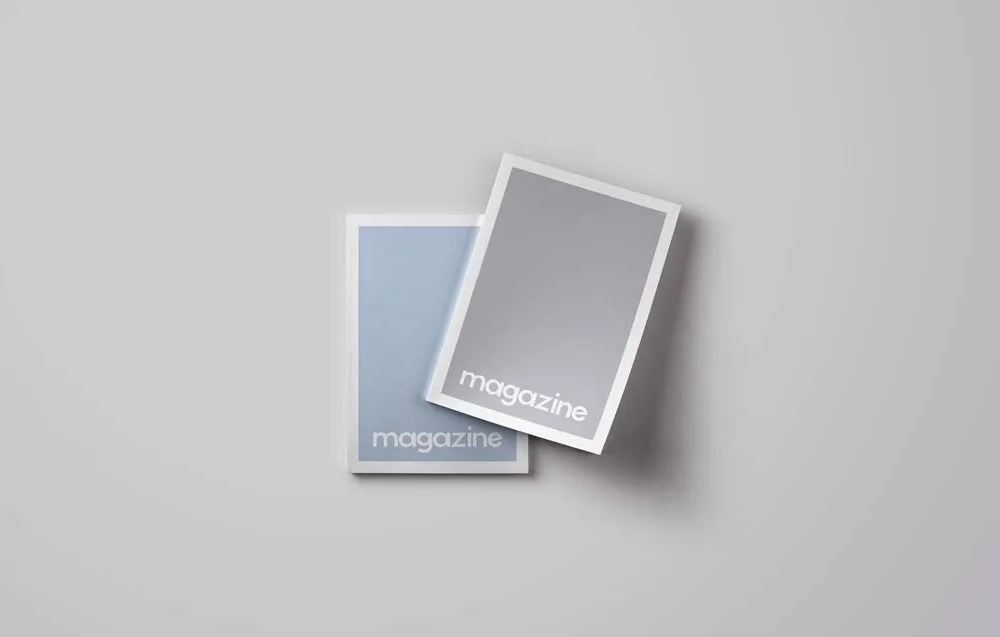
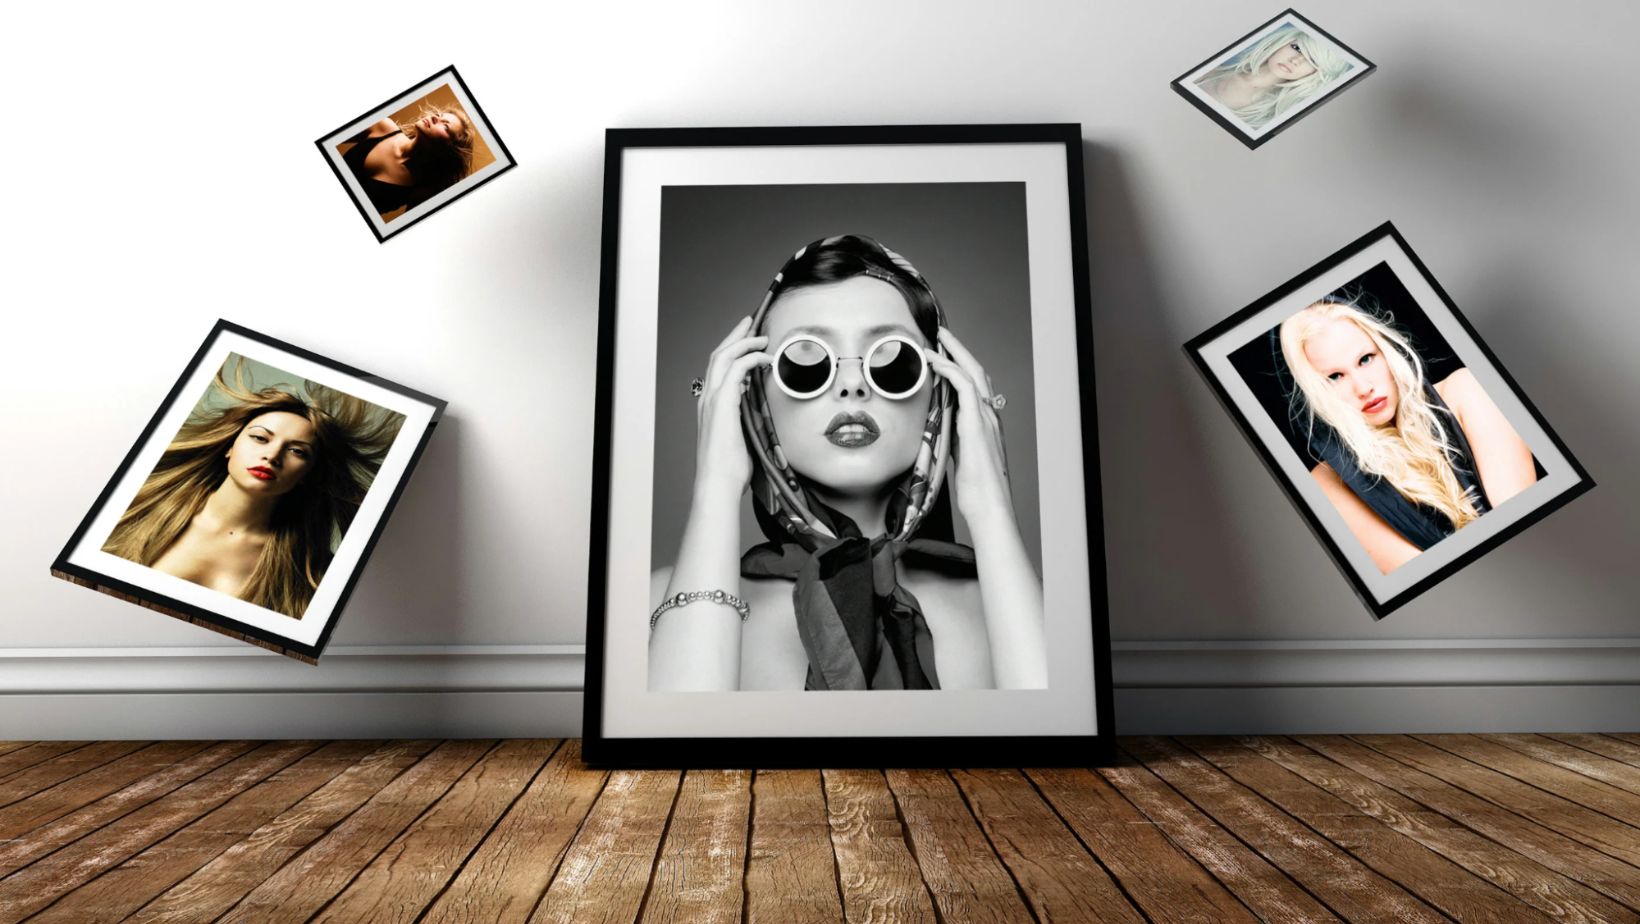
Recognizing The Role of Mockup Photos
Before we dive into the practical steps of crafting mockup photos, it’s essential to appreciate why they hold a pivotal place in the world of design and marketing:
- Visual Appeal: Mockup photos transcend ordinary descriptions or prototypes, offering a visually captivating way to present ideas. They engage viewers by showcasing how a product or design would appear in real-life contexts.
- Authenticity: Realistic mockup photos establish credibility and trust. They help customers envision owning or utilizing a product by presenting it in a relatable and authentic setting.
- Versatility: Mockup photos find utility across a spectrum of marketing materials, from websites and social media to printed materials like brochures and catalogs. Their adaptability makes them indispensable for businesses.
- Efficiency: Constructing physical prototypes for every design or product concept can be time-consuming and expensive. Mockup photos provide a cost-effective and efficient alternative for quick idea validation and refinement.
Commencing Your Mockup Photo Expedition
Now that we’ve acknowledged the significance of mockup photos, let’s delve into the process of crafting them:
Step 1: Define Your Objective
Commence by crystalizing your goal. What message or concept do you wish to convey through your mockup photo? Whether your aim is to showcase a new product, a website design, or a branding concept, a well-defined objective serves as a compass for your creative journey.
Step 2: Choose the Appropriate Mockup Template
Select a mockup template that harmonizes with your project’s objective and context. Consider the medium for which you are designing and choose a template that best complements the purpose, whether it’s a mobile app, product packaging, or website interface. For instance, Picsart’s templates offer a great variety of options tailored for various classes of projects.
Step 3: Assemble Your Assets
Collect all the assets required for your mockup, including product images, design elements, logos, and visuals. Ensure that these assets are of impeccable quality, as this significantly contributes to the professional appearance of your mockup.
Step 4: Tailor Your Mockup
Customize the chosen mockup template by replacing template elements with your assets. Upload your images, insert your designs, and fine-tune their positioning and dimensions to craft the desired visual composition.
Step 5: Establish the Scene
Adjust the background and settings to create the context you desire for your mockup. Experiment with different backgrounds, lighting conditions, and atmospheres to set the mood that best aligns with your project.
Step 6: Attend to the Details
The success of your mockup photo hinges on the details. Pay meticulous attention to elements like shadows, reflections, and angles to enhance the realism of your mockup. Fine-tuning these nuances makes a significant difference in the final outcome.
Step 7: Preview and Evaluate
Before finalizing your mockup, conduct a thorough review. Scrutinize it for inconsistencies, errors, or areas that may benefit from refinement. Ensure that your mockup effectively conveys your intended message.
Step 8: Export and Share
Once you are content with your mockup, export it in the desired format and resolution. Share it with your team, clients, or target audience to solicit feedback and make any necessary enhancements.
Advanced Strategies For Mockup Photo Creation
To elevate your mockup photos to a higher level, consider these advanced strategies:
Explore Diverse Templates: Don’t confine yourself to a single template. Experiment with various templates to explore different visual contexts and perspectives for your project.
Incorporate Realistic Textures: If your design incorporates textures such as fabric, wood, or metal, seek templates that allow you to apply these textures convincingly.
Embrace Animated Mockups: In addition to static mockup photos, delve into creating animated mockups to illustrate interactive elements or user experiences dynamically.
Solicit Feedback: Collaborate with colleagues, clients, or peers to gain fresh insights and pinpoint areas for improvement.
Stay Informed: Stay abreast of the latest design and mockup trends to create images that resonate with contemporary audiences.
In Conclusion
Crafting exceptional mockup photos entails a fusion of creativity, meticulousness, and a deep understanding of your project’s objectives. Whether you are a designer, marketer, or entrepreneur, mastering the art of mockup creation enhances your ability to communicate and showcase ideas effectively. By following this comprehensive guide and integrating advanced techniques, you can fabricate mockup photos that captivate your audience and elevate your visual marketing endeavors to new heights.