In today’s digital branding age, having a strong logo is crucial for building a powerful business identity. Logos are essential components of a company’s visual identity, serving not only as a symbol of recognition but also reflecting the brand’s values and appeal. Adobe Photoshop, a staple in the creative suite for graphic design, provides a robust platform for crafting web-ready logos that resonate with your audience. This quick Adobe Photoshop masterclass offers a streamlined approach to logo design, ideal for anyone looking to produce a professional logo efficiently.
Preparing Your Workspace in Photoshop
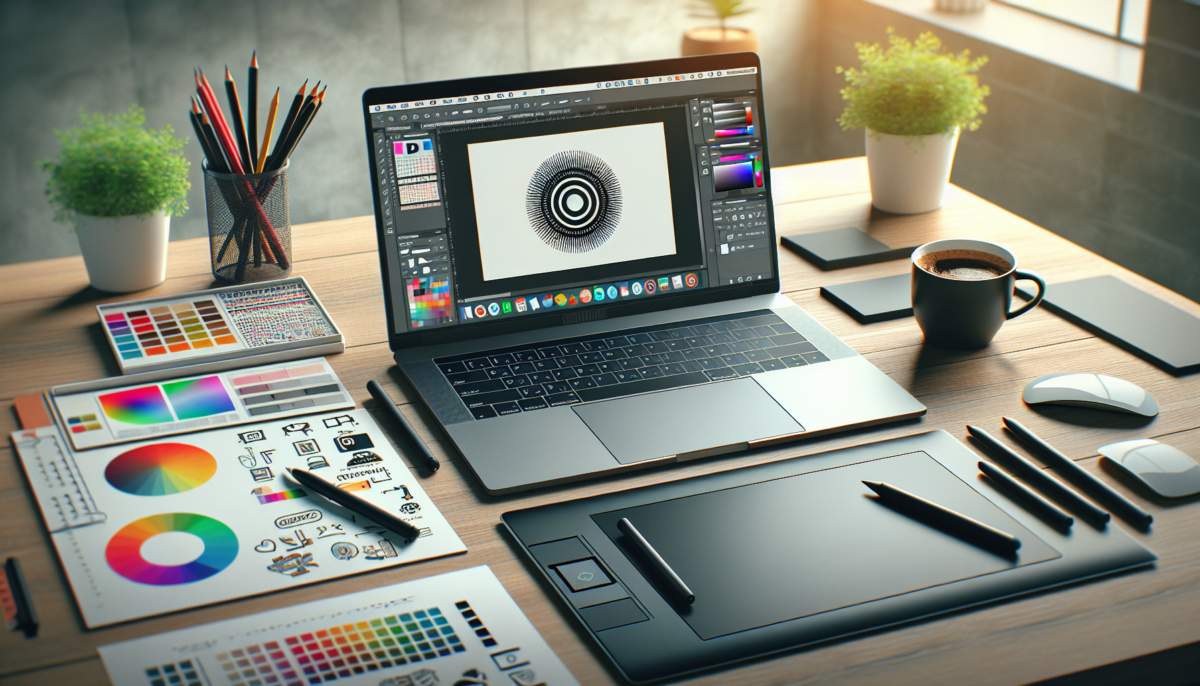
Artboard Setup: This Photoshop tutorial begins with the launch of Adobe Photoshop and begins by setting up a new artboard. Navigate to File > New to open a dialogue box where you can configure your project settings. For logo design, a square canvas (e.g., 500×500 pixels) is recommended to ensure your design remains scalable and versatile across various applications.
Familiarizing with Tools: Key tools in Photoshop for logo creation include the Layers panel for effective layer management, the Shape tools for crafting vector shapes, and the Text tool for typography. These design elements are integral to developing distinct and memorable logos.
Quick LR-PS Tips for Designing Logo
Step 1: Choosing the Right Canvas Size Opt for a standard square dimension to keep your designs scalable and adaptable. This initial setup is crucial for maintaining the quality of your logo across different media.
Step 2: Selecting a Base Shape Utilize the Shape tool to add a base to your logo. Photoshop’s library of custom shapes and raster graphics offers a variety of forms to start with. Select a shape that aligns with your brand’s ethos, adjusting it using the anchor points to fit perfectly within your artboard.

Step 3: Typography Essentials Activate the Text tool and click on the canvas to start typing your business name. Choosing the right typography is pivotal; select a font that complements your brand’s personality and has scalable designs. Adjust the size and color to ensure harmony and balance with your base shape.
Step 4: Color Integration A cohesive color palette is vital for effective branding. Use the Color Picker to choose a primary color that reflects your brand’s personality and apply it to your shape. Select a secondary color for the text that maintains readability and aesthetic appeal.
Step 5: Applying Effects Enhance your logo’s visual impact by adding subtle effects through layer styles. Simple blending options can be time-saving techniques, like a drop shadow or a bevel, which can add depth to your design. Navigate to Layer > Layer Style to explore different effects, ensuring they complement the minimalist design ethos if that’s your aim.
Finalizing and Exporting Your Logo
Ensure that all design elements are aligned and that your layers are well organized before finalizing your logo. This step is crucial for maintaining a professional look. Save your project by navigating to File > Export > Export As. Choose PNG to preserve transparency for diverse use cases or JPEG for a more compressed file format suitable for quick loading times on websites.
Encouragement to Experiment
Your journey in logo design doesn’t end here. Adobe Photoshop’s vast array of tools and settings, like opacity settings, layer styles, and vector shapes, provides endless possibilities to refine and adapt your logos. Experiment with different logo templates, explore various design shortcuts and continuously evolve your graphic design skills through classes with LR-PS. Share your DIY logo creations online to gather feedback and further hone your design capabilities.

With practice and persistence, anyone can master the art of creating striking logos that captivate and resonate with their intended audience. Start experimenting with different styles and techniques today, and watch how your logos transform your overall branding strategy.