Resident proxies are a reliable solution for maintaining anonymity, accessing geo-restricted content, and enhancing privacy. This comprehensive guide will walk you through the process of setting up a resident proxy server on your iPhone, including purchasing proxies, configuring them on your device, and addressing common issues and errors.
Purchasing Resident Proxy Servers for iPhone
To set up a resident proxy server for your iPhone, you must first acquire a residential proxy service. Residential proxies are IP addresses sourced from residential ISPs, offering a higher level of authenticity compared to data center proxies. This helps reduce the risk of bans and provides seamless access to geo-restricted content.
When buying resident proxy servers for iPhone, consider factors such as geographical distribution, pricing, bandwidth limits, and customer support. A reputable source for residential proxies is Proxys.io. They offer a range of static residential proxies suitable for various use cases, with reliable customer service.
Setting up iPhone Resident Proxies: Step-by-Step
Once you have acquired a resident proxy service, follow these steps to set it up on your iPhone:
- Obtain Proxy Credentials: Retrieve the proxy server IP address, port number, username, and password from your proxy provider.
- Open iPhone Settings: Access the ‘Settings’ app on your iPhone.
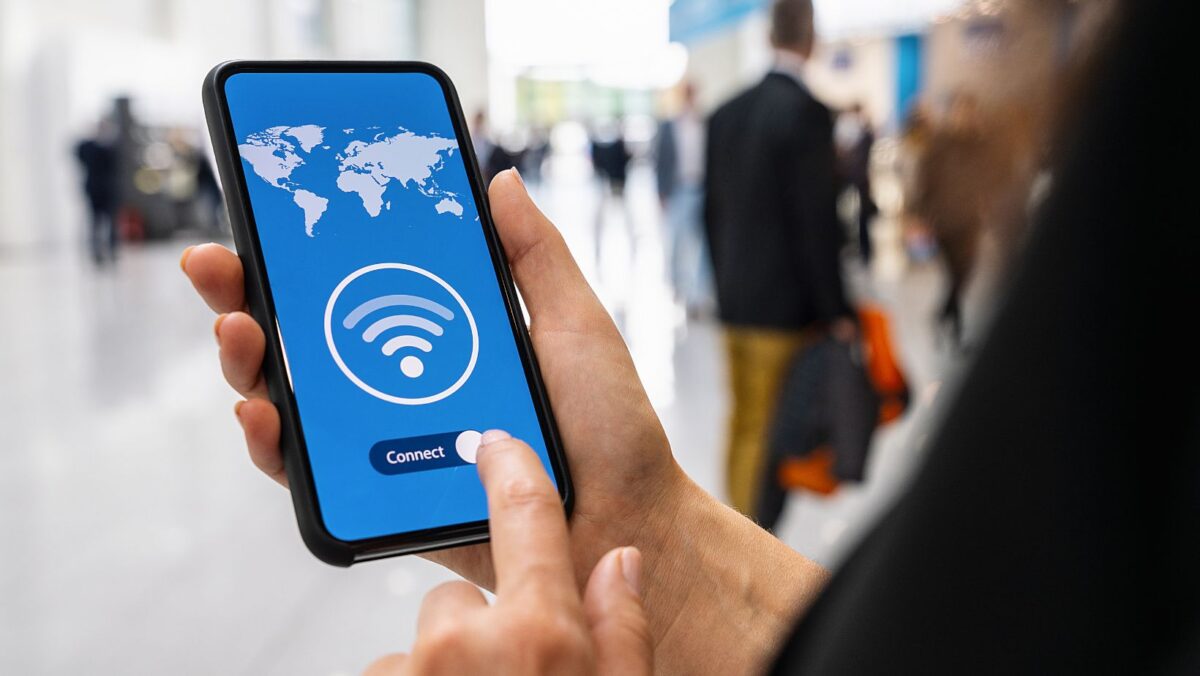
- Connect to a Wi-Fi Network: Ensure you’re connected to a Wi-Fi network.
- Configure Proxy Settings: In ‘Settings,’ select ‘Wi-Fi.’ Tap on the connected network and scroll down to find ‘Configure Proxy.’ Select ‘Manual.’
- Enter Proxy Information: Fill in the proxy server IP address and port number. If authentication is required, enter your username and password.
- Save Settings: Tap ‘Save’ to apply the proxy settings. Your iPhone should now use the residential proxy server.
Rules for Using Resident Proxies on iPhone
Using resident proxies on iPhone requires adhering to certain rules to ensure optimal performance and avoid unwanted issues:

- Respect Terms of Service: Make sure you’re not violating the terms of service of the websites you visit.
- Avoid Abusive Practices: Do not use resident proxies for malicious purposes or to spam websites.
- Secure Your Credentials: Keep your proxy credentials secure to prevent unauthorized access.
- Regularly Update Your Settings: If your proxy provider updates their servers or changes authentication methods, update your settings accordingly.
How to Disable Resident Proxies on iPhone
If you need to disable resident proxies on your iPhone, here’s how to do it:
- Go to ‘Settings’: Open ‘Settings’ and select ‘Wi-Fi.’
- Find the Connected Network: Tap on the connected network and scroll down to ‘Configure Proxy.’
- Select ‘Off’: Choose ‘Off’ to disable proxy settings.
- Reconnect to the Network: Tap ‘Save’ and reconnect to the network. This should disable the resident proxy server.
Error ERR TUNNEL CONNECTION FAILED
The “ERR TUNNEL CONNECTION FAILED” error is a common issue when setting up or using resident proxies on iPhone. Here are some steps to troubleshoot and resolve this error:
- Check Proxy Settings: Ensure you’ve entered the correct IP address and port number. Double-check for typos.
- Verify Authentication: If the proxy requires authentication, confirm that the username and password are correct.
- Restart Your iPhone: Sometimes, a simple restart can resolve the issue.
- Try a Different Network: If you’re connected to a Wi-Fi network, try switching to another network to see if the issue persists.
- Contact Proxy Provider Support: If the error continues, reach out to your proxy provider’s customer support for assistance.
Pros and Cons of Resident Proxies for iPhone
Pros
- High Anonymity: Residential proxies offer a high level of anonymity, reducing the risk of detection.
- Bypass Geo-Restrictions: Allows access to geo-restricted content and services.
- More Authentic: Residential proxies are less likely to be flagged as suspicious compared to data center proxies.
- Wide Range of Applications: Useful for streaming, scraping, and general web browsing.
Cons
- Cost: Residential proxies are generally more expensive than data center proxies.
- Potentially Slower Speeds: Because residential proxies use ISP connections, they might be slower.
- Limited Availability: The pool of residential IP addresses can be smaller, leading to higher costs.
Conclusion
Setting up a resident proxy server for your iPhone can significantly enhance your online experience, providing more anonymity and flexibility. While residential proxies are generally more expensive, their advantages in terms of security and bypassing geo-restrictions make them a valuable choice. By following this step-by-step guide, you can easily set up and use resident proxies on your iPhone.
Frequently Asked Questions (5 questions)
Are residential proxies legal?
Yes, residential proxies are legal as long as they’re used for lawful purposes and within the terms of service of websites.
Can I use residential proxies on mobile data?
Yes, you can use residential proxies on mobile data, but they are typically set up on Wi-Fi networks for stability.
Why are residential proxies more expensive?
Residential proxies are more costly because they use real residential IP addresses, which are in limited supply compared to data center proxies.
Can I use a resident proxy for streaming services?
Yes, resident proxies are often used for streaming services to bypass geo-restrictions and avoid detection.
How can I check if my proxy is working on iPhone?
Use an online IP checker to confirm that your IP address matches the proxy server’s address. Additionally, try accessing geo-restricted content to ensure the proxy is functioning.